Skyline Deck
Skyline Deck is a rooftop practice course forty floors above the city: 503 metres, 12.5 metres wide, with barriers close on both sides. Two stretches on the left have no barrier at all. It is the hardest track in the game and the one that most rewards precision over angle.
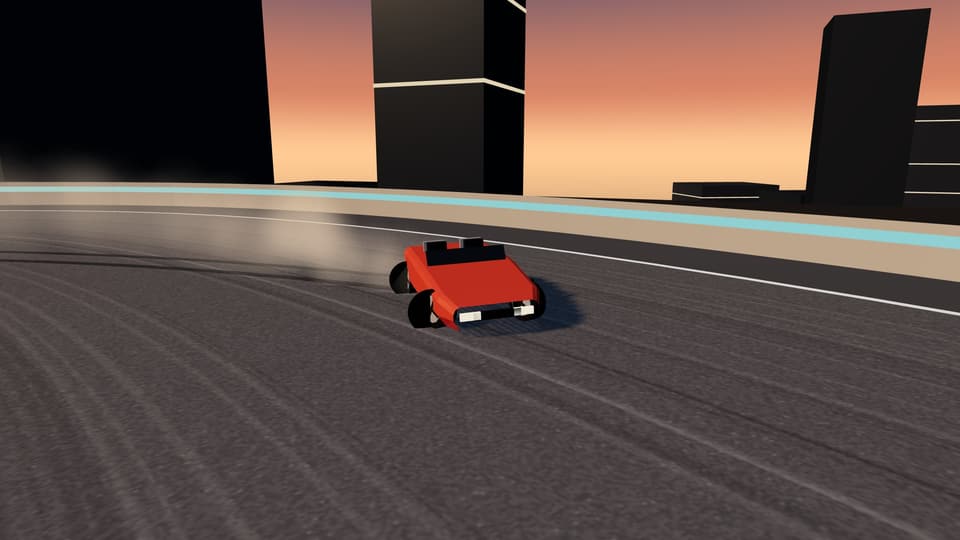
| Lap length | 503 m |
|---|---|
| Road width | 12.5 m |
| Level | Advanced |
| Clipping zones | 5 |
| Gates per lap | 8 |
| Character | Tight, technical and unforgiving. Position matters more than angle. |
Corner by corner
Positions are percentages of the lap, counted from the start line in the direction of travel.
North straight and first open edge · Start to 21%
From about 5% to 14% of the lap the left side has no barrier, only coral hazard paint. Stay centre-right. Going over the edge returns you to the last gate and clears the live chain.
East hairpin · 21% to 44%
A right-hand hairpin with an 11-metre radius, the tightest corner in the game, and inside zones at its entry and exit. Slow right down and use the handbrake; there is very little room to drift wide.
Chicane left · 46% to 53%
A quick left with a zone on the left edge at its exit. A small transition at low speed. Keep the angle under 35°.
Edge right · 53% to 68%
A 12-metre right whose outside — the left — has no barrier from about 56% to 63%. Drifting wide here means going over. Take less angle, hug the inside, and collect the zone near the exit.
West loop · 70% to the line
A short left, then a long right of about 14 metres with an inside zone. The safest place on the deck to build a chain.
Walls, runoff and recovery
Low barriers with 3 metres of runoff, except for the two gaps on the left. Falls are detected and the car is placed back at the last gate automatically.
Pressing R in a timed run returns the car to the last of the track’s 8 gates you passed, stationary, with the live chain cleared and scoring paused for a second and a half. In Free Drive it returns you to the nearest point on the track instead.
Common mistakes
- Driving it like Canyon Loop. Big angles do not fit between these barriers.
- Letting the car run wide through the edge right.
- Scraping barriers repeatedly: each real hit costs the chain and, in lap challenges, zeroes the lap.
Which car
The Brisk: short, light and quick to change direction. The Finch is provided for the introductory challenge because it forgives the most. The Vector here is the final exam. The numbers behind those characters are in six cars compared.
What to practice first
Lesson 8: Final clean run. It is about scoring without touching a wall, which is the whole of Skyline Deck. All eight are on the Drift Academy page, and drifting lines explains where to place the car in any corner.
The six challenges here
| Challenge | Judged on | Car | Bronze | Silver | Gold |
|---|---|---|---|---|---|
| Rooftop Intro | Drift score | Finch | 1,450 | 2,900 | 4,900 |
| Edge Work | Zones clipped | Your choice | 3 | 5 | 9 |
| Deck Shuffle | Linked transitions | Brisk | 3 | 7 | 11 |
| No Gaps | Longest chain | Your choice | 550 | 1,100 | 1,850 |
| Forty Floors | Weakest lap score | Your choice | 400 | 800 | 1,300 |
| Skyline Final | Combined result | Vector | 800 | 1,550 | 2,600 |
Thresholds were set from completed runs by the game’s reference driver: gold is what it managed, silver is 60% of that and bronze 30%. A practiced human should beat it. How each result is calculated is in drift scoring explained.